REVIEW · MAUI
Epoxy Resin Cheese Board Art Class
Book on Viator →Operated by Yulia Maui Art · Bookable on Viator
Ocean resin art meets Maui views. This hands-on class in Paia helps you pour an ocean resin cheese board that you’ll actually use for hosting or gifting, and you’ll also make a smaller mini board first to practice. Between Paia and a stop near Ho‘okipa Beach Park, the whole outing stays tied to that ocean-inspired look.
I really like two parts of this experience. First, the instruction feels close and supportive, with an emphasis on doing each step right as you learn. Second, you get the basics covered—gloves, aprons, and other PPE—plus safety and prep tips so you’re not guessing mid-project.
One thing to think about: the finished board needs 24 hours to cure, so you’ll need to plan for next-day collection rather than taking everything home the same day.
In This Review
- Key things to know before you go
- Ocean Resin Cheese Boards: why this class is worth the time
- Paia to Ho‘okipa Beach Park: the outing that matches the ocean theme
- Your resin game plan: measuring, mixing, pigments, and pouring
- Preparing your board: cleaning, taping, leveling, and finishing
- What you make in the 1 hour 30 minutes
- Included supplies, PPE, and what you can bring
- Price and value: what $145 is really buying you
- Planning tips so your resin day goes smoothly
- Who should book this class (and who might skip it)
- Should you book the epoxy resin cheese board class in Maui?
- FAQ
- How long is the epoxy resin cheese board class?
- Where does the experience start and end?
- What will I make during the class?
- What supplies and PPE are included?
- Is alcohol included?
- When will my finished board be ready?
Key things to know before you go
- Mini board practice first so you learn the technique before your main piece
- Measuring, mixing, coloring, and pouring are all taught step by step
- Heat gun and torch use is covered, with safety and preparation tips included
- Board prep matters: you’ll learn cleaning, taping, leveling, and professional finishing
- Small group size (up to 12) keeps the class hands-on and easier to follow
- Your board is ready the next day after a 24-hour cure
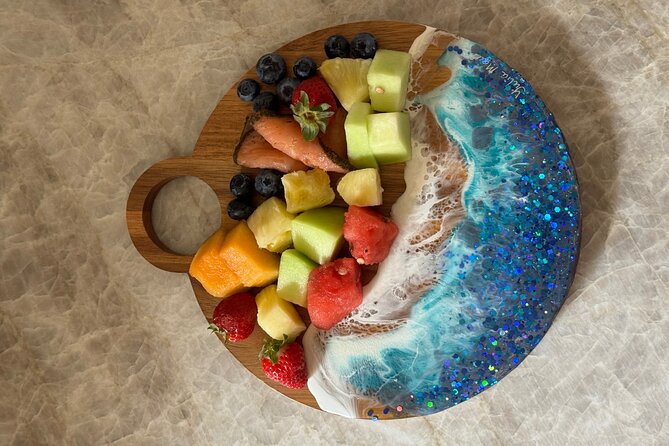
Ocean Resin Cheese Boards: why this class is worth the time

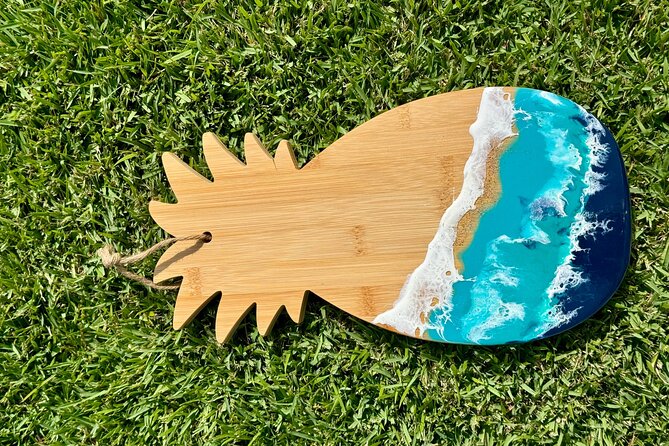
This is one of those activities that turns into a real keepsake fast. You’re not just making something pretty to look at for an hour—you’re creating a functional serving board meant for cheese, antipasto, and weekend entertaining. And because it’s personalized, it works just as well as a gift for family and friends.
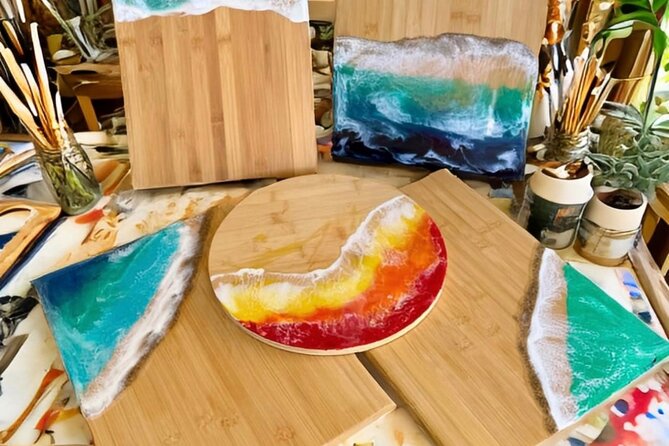
You’ll also get to shape the end result. The class includes guidance for making your cheese board, and it even encourages you to bring your own shape you want to display at home. If you have a specific style in mind, there’s also an option for a special board shape upgrade during the class.
The best value here isn’t just the resin. It’s that you learn the full process—how to get the color right, how to pour, and how to finish so the surface looks polished instead of messy.
You can also read our reviews of more tours and experiences in Maui.


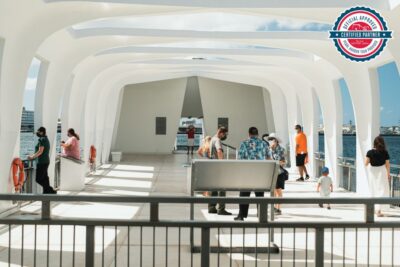
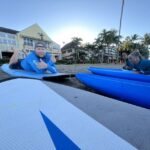
Paia to Ho‘okipa Beach Park: the outing that matches the ocean theme
You start at 24 Luna Ln, Paia, HI 96779, and the experience ends back near the same meeting point. Along the way, the outing includes a stop in Paia and another stop near Ho‘okipa Beach Park. Even if you’re there mainly for the art, it helps that the scenery fits the theme you’re making.
Why that matters: ocean resin looks best when you’re inspired by real color and real texture. Standing near the coast (and taking in the light) makes it easier to imagine how pigments will blend in clear resin. It’s also a nice break in the schedule before you settle in for the hands-on portion.
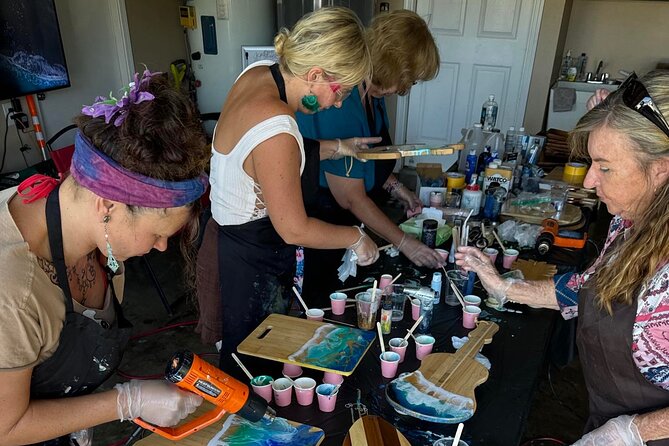
This is also a practical class setup. It’s offered in English, and the group size caps at 12. That small ceiling makes a difference when you’re using tools like a heat gun and torch, where you want clear guidance and room to work.
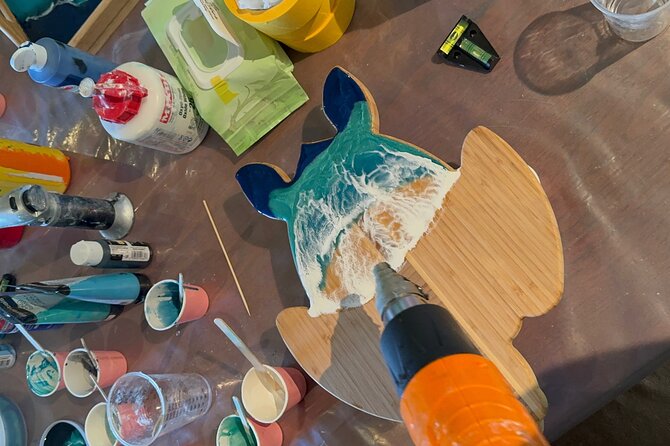
Your resin game plan: measuring, mixing, pigments, and pouring
The class is built around a straightforward workflow you can remember later. You’ll cover measuring, mixing, coloring, and pouring resin, which is the core of making anything look intentional instead of random. If you’ve never worked with resin before, this is exactly the kind of sequence you want—method first, then creativity.
A big part is how to choose the right pigments and blend colors. Color mixing is where resin can go sideways quickly—too much pigment, uneven blending, or colors that look different once cured. Here, you’re taught what to watch for while you’re actually mixing, so the lesson sticks.
You’ll also learn how to work with a heat gun and torch. That matters because these tools are part of how resin behaves as it sets. You aren’t left to trial-and-error on your own. You also get safety and preparation tips, and the class provides PPE like gloves and aprons, which keeps you focused on technique rather than worry.
Preparing your board: cleaning, taping, leveling, and finishing
This class doesn’t treat the board surface like an afterthought. You’ll get instruction on how to prepare your board with cleaning, taping, and leveling before you pour. In resin work, prep is where your final results begin. A slightly off surface or a poorly sealed edge can turn a good pour into a frustrating one.
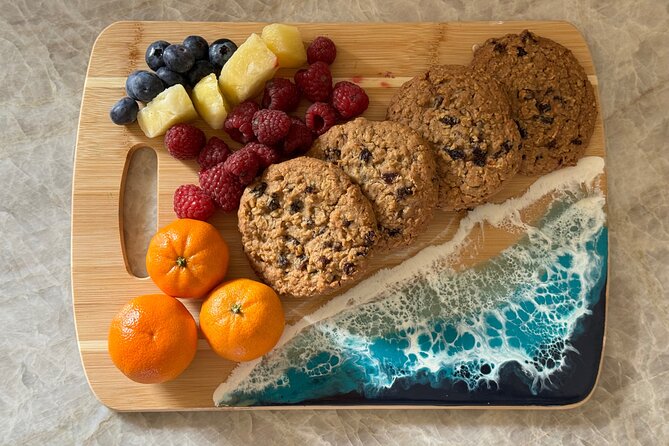
You’ll also learn how to finish the pieces professionally, which is where this goes from craft project to something you’d actually serve from. The goal is a clean, polished look that suits a cheese board set for hosting.
One helpful detail: before tackling your main piece, you’ll make a mini cheese board to practice the resin art techniques in a lower-pressure way. That’s a smart teaching move, especially if you’re new to mixing pigments, working with clear resin, or using the tools.
And you’ll finish with guidance on how to look after your new serving ware. Resin pieces can last well when you treat them correctly, and that care advice is the difference between enjoying it for years and worrying about it every time you serve guests.
What you make in the 1 hour 30 minutes
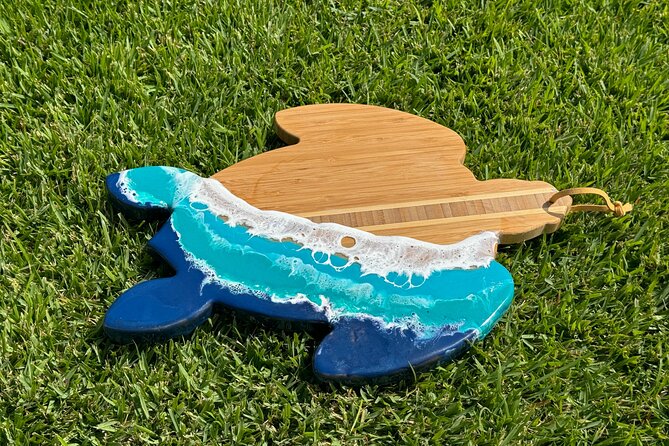
You’ll make a cheese board (with the ocean resin style), plus a mini board for practice. The mini piece is not just filler time—it’s there to help you learn the technique before you commit to the full serving board.
The time block is about 1 hour 30 minutes (approx.). That’s long enough to learn the process and pour, but short enough that you’re not stuck for half a day with equipment you don’t fully understand yet.
The finished serving ware also comes with a realistic timeline. Your resin work takes 24 hours to cure. You’ll be able to collect it the next day, which is important if your Maui days are planned tightly.
You can also read our reviews of more tours and experiences in Maui


Included supplies, PPE, and what you can bring
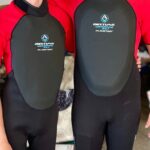
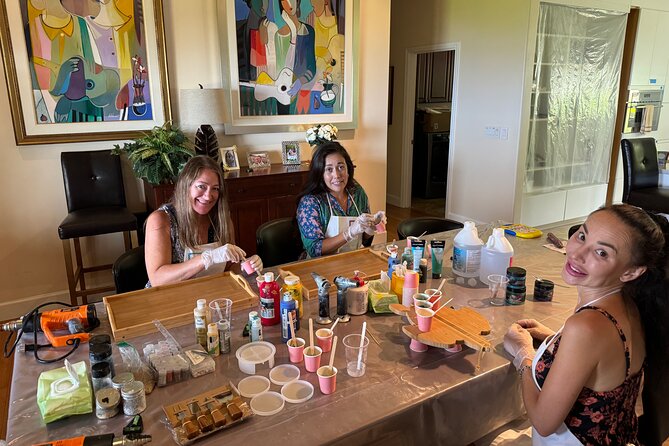
This class is set up to be low stress in the moment. You’ll get gloves, aprons, and other PPE included, along with safety and preparation tips before you start working. That’s a real benefit if you don’t want to hunt for equipment or worry about being underprepared.
You’re also provided bottled water and juice. The class experience doesn’t include alcohol, but you can BYOB if you want to make it feel more like a relaxed evening activity (within the class rules).
The included items listed for the experience include:
- Resin cheese board
- Charcuterie board
- Chopping board
One practical read on that: you’ll leave with serving and prep items for entertaining, not just a single decorative object. If you’re thinking ahead about what to do on day two, you’ll have the pieces to actually host.
Also note the meeting ticket is mobile, and the experience is capped at 12 travelers. That tends to keep the class organized and easier to manage.
Price and value: what $145 is really buying you
At $145 per person, this isn’t a bargain craft kit. But it also isn’t just resin in a box. You’re paying for instruction, materials, PPE, and the hands-on coaching needed to make a finished serving board you’ll be proud of.
Here’s what you’re getting for that money in plain terms:
- Guided technique for measuring, mixing, coloring, and pouring
- Coaching on pigments and blending colors so you can get the look right
- Teaching on tool use like the heat gun and torch, with safety tips
- Board prep and finishing instruction (cleaning, taping, leveling, finishing)
- A mini practice board so you learn without risking the final piece
- Next-day readiness, meaning the class supports you through the curing step
And the group size helps. With a cap at 12, you’re more likely to get the kind of step-by-step attention that matters when resin is involved and timing counts.
If you’re planning a trip around it, book earlier rather than later. This experience is on average booked about 50 days in advance, so it’s smart to lock in your slot while your Maui plan still has flexibility.
Planning tips so your resin day goes smoothly
Because the board cures overnight, plan your schedule like you’re booking a project with a return step. Don’t stack an early flight for the next morning unless you’re sure you can handle next-day collection.
Wear-wise, the class gives you PPE like gloves and aprons, but you’ll still want to come prepared to get a little artsy-dirty in the process. Also, if you’re bringing your own shape for your board, consider doing it only if you understand what the class expects. The experience encourages bringing your own shape, and there’s a special shape upgrade option during class time.
Alcohol-wise: BYOB is allowed, but the class is still about careful tool use and safety. Keep that in mind so you’re fully present during measuring, mixing, and pouring.
Language-wise: everything is offered in English, and the class states that most travelers can participate. Service animals are allowed, and it’s near public transportation, so it’s fairly easy to fit into a Maui day if your plan has some moving parts.
Also, this experience offers free cancellation up to 24 hours before for a full refund. That gives you breathing room if your flight plan changes.
Who should book this class (and who might skip it)
This class is a great fit if you want a Maui activity that ends with something useful. If you enjoy hands-on work, like creating gifts, or want a real conversation starter for your home, you’ll probably have a lot of fun.
It also suits beginners. The mini board practice is a signal that the teaching approach expects you to learn. You’re taught everything from prep to finishing, not just the creative part.
You might want to skip (or at least plan carefully) if you can’t handle a 24-hour wait for curing or you strongly prefer to take everything home the same day. Since collection happens the next day, your itinerary needs a small opening.
Should you book the epoxy resin cheese board class in Maui?
If you’re looking for a hands-on creative experience that produces a giftable, usable finished piece, I think this is an easy yes. The step-by-step support, the PPE included, and the fact you practice on a mini board first make it a friendly class for first-timers.
Book it if you want something more personal than a souvenir and you’re happy with the next-day cure reality. If you’re the type who likes to host, this gives you a board you can put to work right away.
If you can’t spare the time for a return pickup, then choose another activity. But if you’ve got space on your schedule for one project-day plus next-day collection, this one is worth your spot.
FAQ
How long is the epoxy resin cheese board class?
The class lasts about 1 hour 30 minutes (approx.).
Where does the experience start and end?
It starts at 24 Luna Ln, Paia, HI 96779 and ends back at the meeting point.
What will I make during the class?
You’ll make a resin cheese board, and you’ll also make a mini cheese board to practice the resin techniques.
What supplies and PPE are included?
The experience includes gloves, aprons, and other PPE, plus safety and preparation tips. Bottled water and juice are also provided.
Is alcohol included?
No. Alcohol is not included, but you can BYOB.
When will my finished board be ready?
Your serving ware takes about 24 hours to cure and will be ready for collection the next day.